The Ultimate Guide to Artificially Incubating and Hatching Budgie Eggs
Introduction
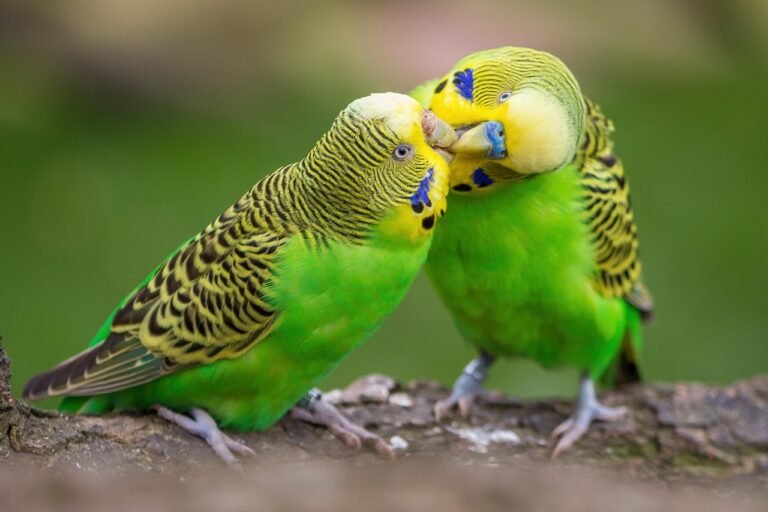
Budgerigars, commonly known as budgies, are among the most popular pet birds worldwide. While they usually incubate their eggs naturally, there are instances where artificial incubation becomes necessary. This could be due to an abandoned clutch, an inexperienced parent, or the need for a controlled breeding program. In this comprehensive guide, we’ll explore everything you need to know about artificially incubating and hatching budgie eggs successfully.
Why Artificial Incubation May Be Necessary
Artificial incubation is a valuable technique for breeders who encounter situations such as:
- A hen abandoning her eggs
- Eggs not being incubated properly by the parents
- The need to increase hatch rates in controlled environments
- Ensuring genetic diversity in breeding programs
Selecting a Suitable Incubator for Budgie Eggs
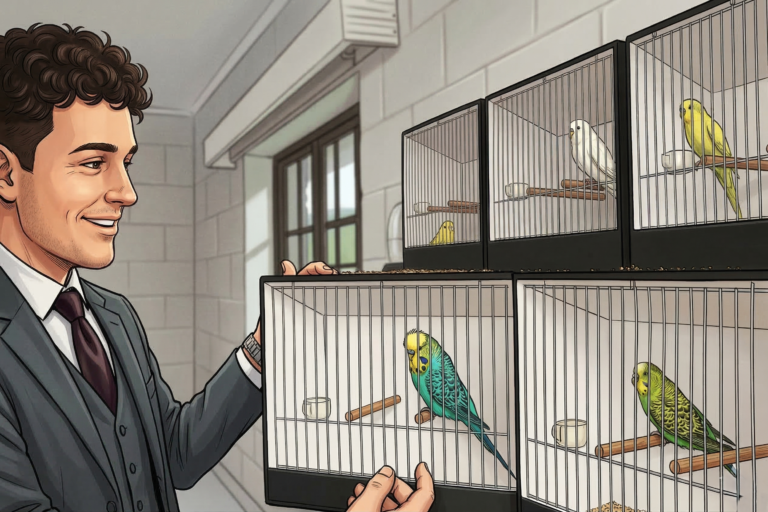
Since budgie eggs are small and delicate, choosing the right incubator is crucial. The ideal incubator should have precise temperature and humidity controls, gentle egg turning mechanisms, and stable air circulation.
Recommended Incubators for Budgie Eggs:
- Brinsea Mini II Advance – A high-precision incubator with automatic egg turning and digital controls.
- Rcom 10 Pro – Compact, reliable, and well-suited for small eggs with humidity control.
- Hova-Bator 1588 Genesis – Features digital temperature control and good air circulation.
- Magicfly Digital Mini Incubator – A budget-friendly option with automatic turning.
- Harris Farms Nature Right Incubator – Compact incubator with auto egg turning.
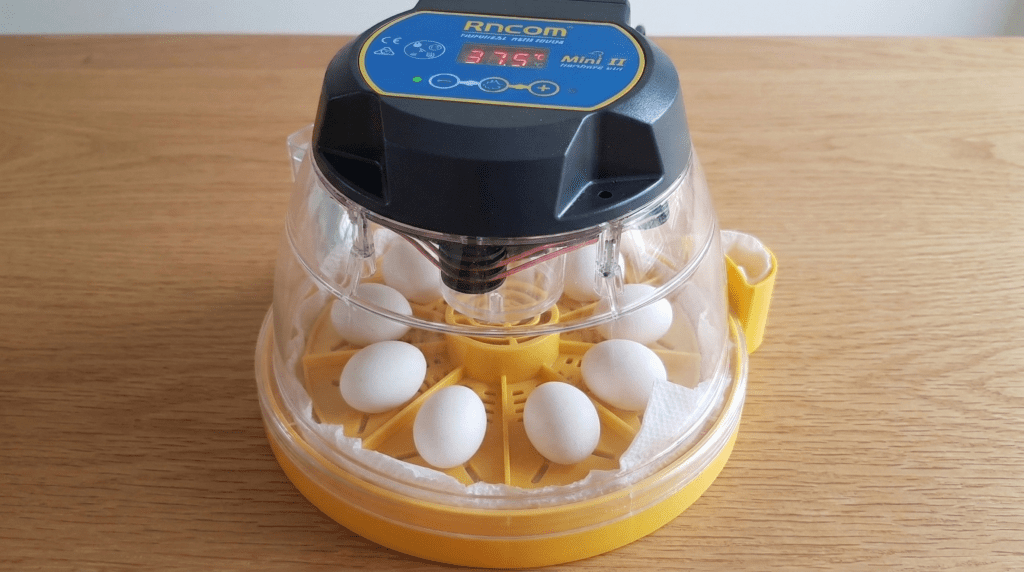
Temperature and Humidity Requirements
Budgie eggs require specific environmental conditions to develop correctly:
- Temperature: 99°F to 99.5°F (37.2°C to 37.5°C)
- Humidity Levels:
- First 18 days: 50-55%
- Last 3 days (hatching period): 65-70%
Turning Budgie Eggs
Eggs must be turned at least 3-5 times daily to prevent the embryo from sticking to the shell. If your incubator does not have an automatic turning function, you will need to manually rotate them 180° using clean hands.
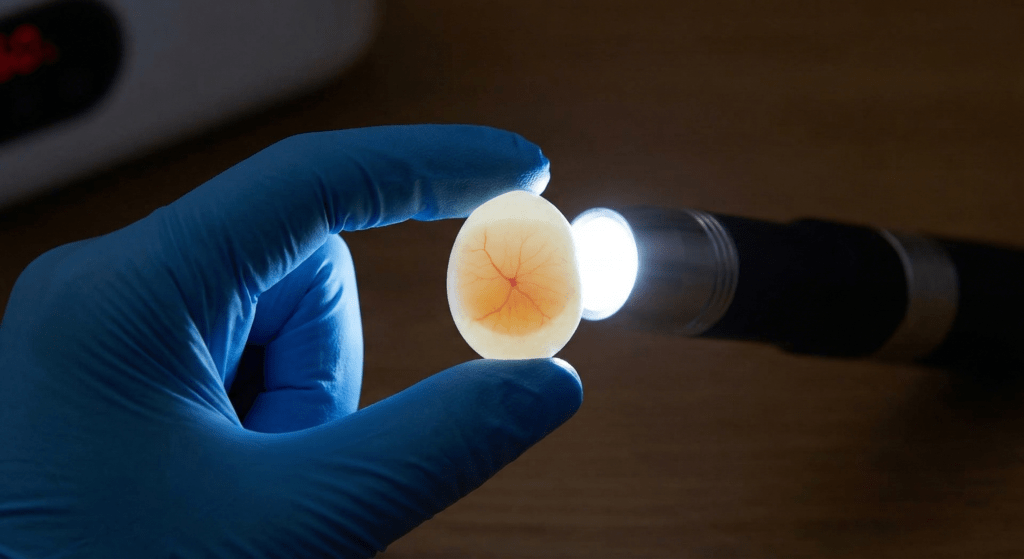
Candling Budgie Eggs
Candling helps determine if the eggs are fertile and developing properly. This should be done at:
- Day 5-7: Look for red veins, indicating a viable embryo.
- Day 10-12: A growing dark mass should be visible inside.
- Day 15-18: Most of the egg should appear dark except for the air cell.
The Hatching Process
On days 18-21, stop turning the eggs and increase humidity to 65-70% to aid the chicks in breaking through the shell. Budgie chicks usually pip externally on day 19 or 20, and hatching can take 12-24 hours.
Post-Hatch Care
- Leave chicks in the incubator until they dry completely.
- Transfer them to a brooder with a temperature of 95°F (35°C) and gradually decrease as they grow.
- Provide hand-feeding formula if the parent birds are not available to feed them.
Common Issues and Troubleshooting
- Eggs not developing: Check temperature and humidity settings.
- Chicks struggling to hatch: Maintain proper humidity and avoid assisting unless necessary.
- Deformities or weak chicks: Often due to poor incubation conditions or genetic factors.
Conclusion
Artificially incubating and hatching budgie eggs can be a rewarding yet delicate process. By using a reliable incubator, maintaining the correct temperature and humidity, and following proper care techniques, you can ensure a successful hatch rate and raise healthy chicks. Whether you’re a breeder or an enthusiast, this guide provides all the essential steps for incubating budgie eggs effectively.