Budgie Breeding Problems: What Can Go Wrong From Egg to Fledgling
From egg binding and clear eggs to splay leg and parents plucking chicks, here’s how to spot and fix the most common budgie breeding problems, stage by stage.
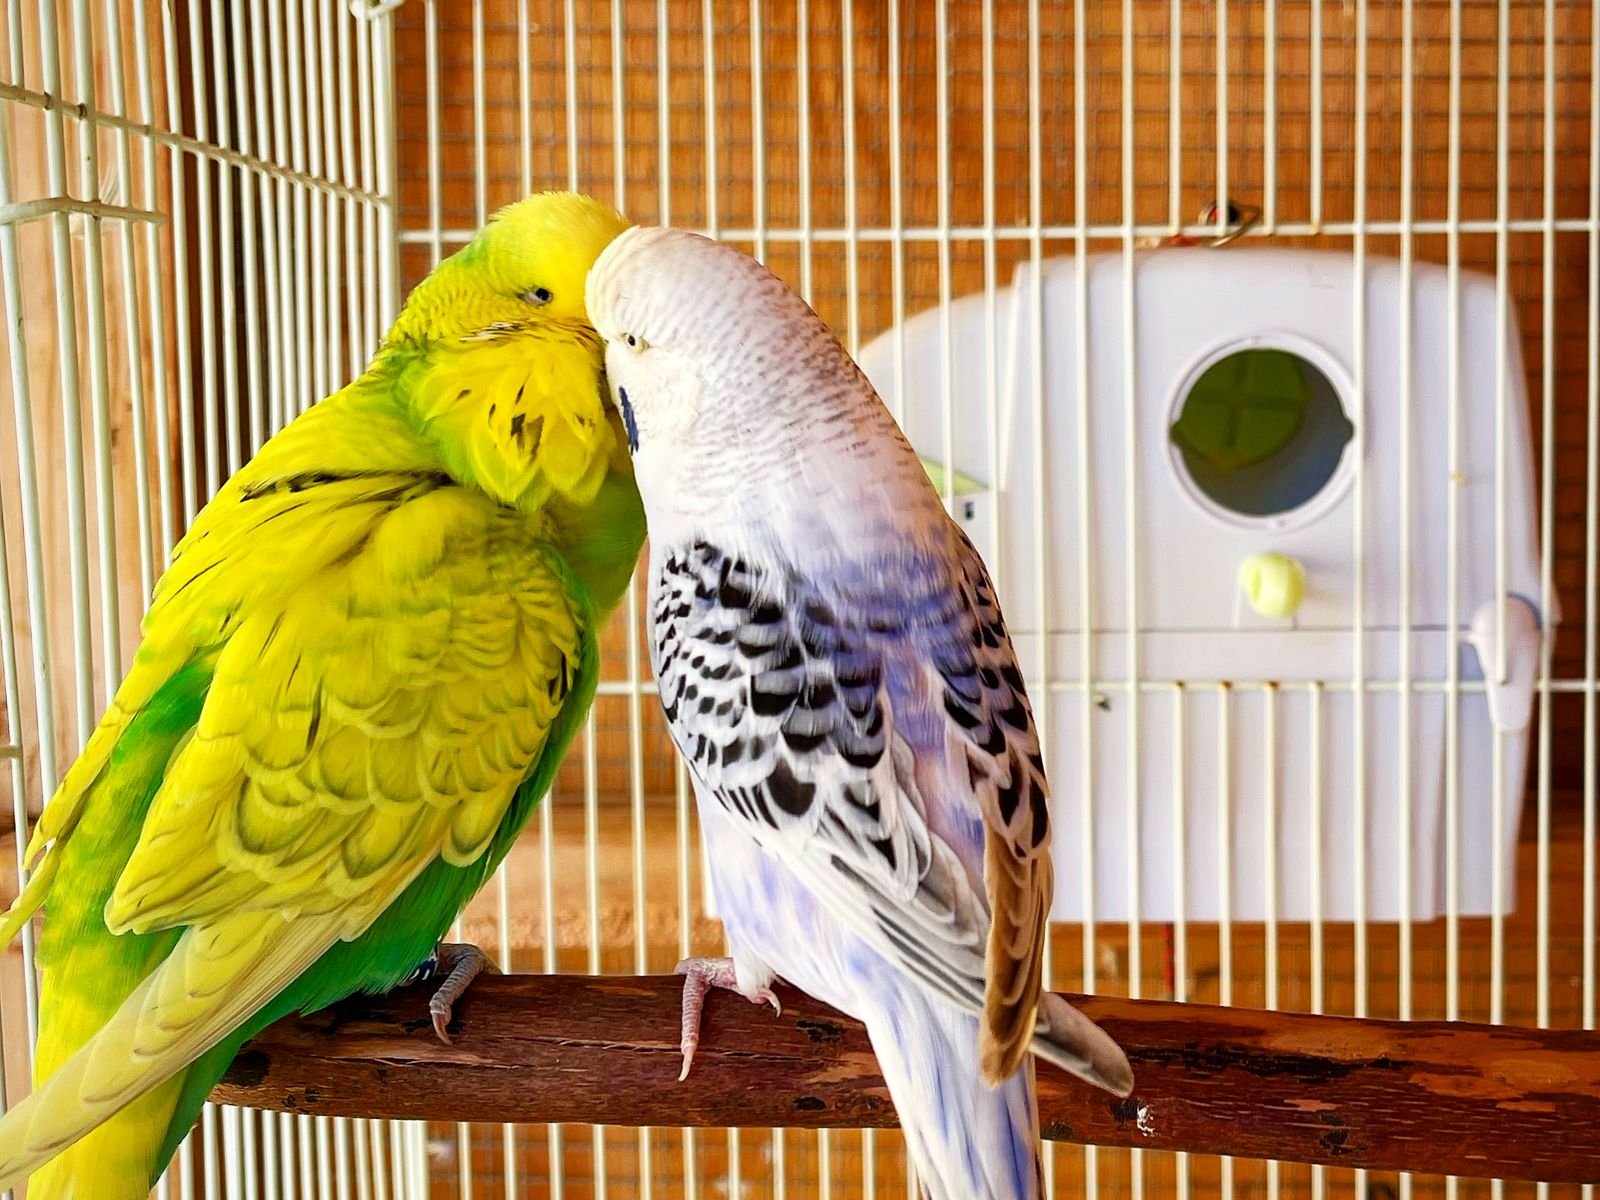
Breeding budgies is one of the most rewarding parts of keeping them. Watching a hen settle on her first egg, hearing the first tiny chirps from the nest box and seeing a fluffy fledgling take its first flight never gets old. But even with healthy, well-conditioned birds, things don’t always go to plan.
This guide walks through the most common budgie breeding problems stage by stage, from egg laying to weaning. For each one you’ll learn what to look for, why it usually happens and what to do about it. If you’re just getting started, read our complete guide to breeding budgies first, then keep this page bookmarked for when something doesn’t look right.
Important: Some breeding problems, like egg binding, can kill a hen within hours. This guide is not a substitute for an avian vet. If a bird looks unwell, call a vet right away, and use our bird emergency page for warning signs and hotline numbers.
[Story Time] Spring 2018. It was the season of abandoned nests for us. Unfortunately not all hens will take on the large task of rearing young. They will mate, lay eggs, but sometimes that motherly instinct is not there. As a breeder you should be able to take on the responsibility and should be able to implement a system to mitigate potential loss. Most breeders will foster the eggs or chicks to other hens however I personally do not like fostering unless it is extremely necessary. If you are a newbie and want to breed your budgies, let this be a lesson and never go into breeding unless you have a backup system and are willing to step in and handfeed.
A Normal Budgie Breeding Timeline
You can only spot a problem if you know what normal looks like. These are typical numbers. Individual pairs vary by a few days either way.
| Stage | What’s normal |
|---|---|
| Laying | One egg every other day, usually 4 to 8 eggs in a clutch |
| Incubation | About 18 days per egg (17 to 19 is common). The hen does the sitting while the cock feeds her |
| Hatching | Chicks hatch one at a time, roughly every other day, in the order the eggs were laid |
| Eyes open | Around 10 days old |
| Pin feathers | Appear at about 2 weeks |
| Leaving the nest | Around 30 to 40 days after hatching |
| Weaning | Fledglings learn to crack seed over the next week or two, while the father keeps feeding them |
Because the eggs hatch in sequence, the oldest and youngest chicks in a big clutch can be more than a week apart in age. That age gap is behind several of the problems below.
Before You Start: Most Problems Begin Here
Many of the problems in this guide trace back to the same handful of causes. Getting these right before you put up a nest box prevents more trouble than any fix afterwards.
- Age. Both birds should be at least a year old. Pairs that are too young often lay clear eggs or fail to feed their chicks.
- Condition. Breed only from healthy birds in good feather and at a good weight. Our guide to conditioning budgies for breeding covers how to prepare them.
- Diet. A seed-only diet is not enough for a laying hen or for parents feeding a nest full of chicks. Offer fresh greens and vegetables, egg food and a reliable calcium source such as cuttlebone or a mineral block. See our budgie diet guide for more.
- A secure nest box. The box should be the right size, firmly mounted, out of drafts and lined with a suitable substrate such as pine shavings.
- Limits. Plan on no more than two rounds per pair in a season, then remove the nest box and give the birds a rest.
- A vet before you need one. Find an avian vet near you now, not at midnight when a hen is egg bound.
Stage 1: Problems During Egg Laying
Egg binding (an emergency)
What you’ll see: The hen sits fluffed up, often on the cage floor. She may strain, bob her tail, stand with her legs wide apart or struggle to perch. Her belly may look swollen, and sometimes an egg can be seen or felt near the vent.
Why it happens: The egg gets stuck on its way out. Common causes are calcium deficiency, a poor diet, obesity and lack of exercise, a very young or very old hen, and a hen that has laid too many eggs in a row.
What to do:
- Treat this as an emergency. Small birds like budgies can die within a few hours of becoming egg bound. Call your avian vet or an emergency animal hospital right away.
- Keep her warm and quiet while you arrange the visit. A warm room and a partly covered hospital cage help.
- Never try to pull or squeeze the egg out yourself. A broken egg inside the hen can cause serious injury and infection.
- Prevent it with good nutrition and calcium before breeding, and by not breeding hens that are too young, too old or overweight.
Soft-shelled, thin-shelled or misshapen eggs
What you’ll see: Eggs with rubbery or paper-thin shells, rough lumpy shells, or odd shapes. They break easily in the nest.
Why it happens: Most often a lack of calcium or vitamin D3 in the hen’s diet. It can also happen when a hen has laid a lot of eggs in a short time, or because of a problem in her reproductive tract.
What to do: Improve her diet and make sure she has constant access to cuttlebone or a mineral block. A single odd egg from a young hen is not unusual, but repeated soft-shelled eggs are a warning sign of calcium depletion, and those hens are at higher risk of egg binding. Have her checked by a vet and don’t let her keep laying.
A hen who won’t stop laying
What you’ll see: The hen keeps producing egg after egg, or starts a new clutch as soon as the last one is removed. Some pet hens lay with no mate and no nest box at all.
Why it happens: Long daylight hours, a nest box or nest-like hidey spots, a mate or a favorite toy or mirror, and plenty of rich food all tell a hen that it’s a good time to breed. Each egg drains her calcium and energy.
What to do:
- Don’t take the eggs away as soon as they’re laid. Removing them often makes her lay more to replace them. Leave the clutch with her until she loses interest, which is usually around the time the eggs would have hatched.
- Remove the nest box and anything she’s treating as a nest site once the round is over.
- Shorten her day. Covering the cage earlier so she gets more hours of darkness each night is one of the most effective steps.
- If she keeps laying anyway, see an avian vet. Hormone treatment can stop chronic laying when management changes aren’t enough.
Eggs laid on the cage floor instead of in the nest box
What you’ll see: Eggs dropped from a perch or laid in a corner of the cage, often from a first-time hen.
Why it happens: The hen hasn’t accepted the nest box. It may be too dark, too exposed, the wrong size, wobbly, or hung where she doesn’t feel safe.
What to do: Check the box is firmly fixed, the entrance hole is the right size and there’s a perch outside it. Try a different position in the cage. If a hen still won’t use a box after a fair chance, she may not be ready to breed this season.
Stage 2: Problems During Incubation
Clear (infertile) eggs
What you’ll see: Eggs that stay clear when candled. A fertile egg shows a network of red veins after about a week, while a clear egg looks empty and evenly lit.
Why it happens: The pair may be too young, too old or out of condition, the cock may not be mating successfully, or the pair hasn’t properly bonded. A nest box that went up too soon after pairing, or one the hen isn’t happy with, can also play a part.
What to do:
- Give a new pair time. It’s common for the first clutch of a young pair to be partly clear.
- Check that both birds are a year old or more and in good condition.
- Watch the pair. If the hen focuses on the box but ignores the cock, or they never mate, they may simply not be a good match. Try them again later or swap partners.
- Learn to candle gently with a small bright light in a dark room, and keep handling to a minimum. Our incubation guide explains candling in more detail.
Dead in shell
What you’ll see: Eggs that show development when candled but never hatch. Some contain a half-formed chick, others a fully formed chick that died just before or during hatching.
Why it happens: The most common causes are chilling (the hen leaves the eggs too long), humidity that’s too low, especially near hatching, so the chick can’t break free of the membrane, bacteria entering through dirty shells, poor nutrition of the parents, and inherited weaknesses.
What to do:
- Keep the breeding room at a steady temperature with no drafts, and avoid sudden swings in temperature or humidity.
- Watch how tightly the hen sits. If she keeps leaving the eggs, find out why (disturbance, mites, a pushy cock or noisy surroundings).
- In very dry climates or heated rooms, raising the room humidity helps. Don’t dip or soak eggs in water. A cracked egg can drown the chick.
- Keep the nest box clean and dry, and feed the parents well before and during breeding.
- If one pair keeps producing dead-in-shell eggs season after season, consider not breeding them together again.
Cracked, broken or kicked-out eggs
What you’ll see: Eggs found cracked, dented or outside the nest box.
Why it happens: Thin shells from low calcium, a nervous hen scrambling off the eggs, night frights, disturbances near the box, or older chicks trampling eggs that are still to hatch.
What to do: Keep disturbances to a minimum, use a deep enough layer of substrate so eggs sit in a slight dip, and consider a small night light to reduce night frights. Make sure the hen’s diet is supporting strong shells.
The hen abandons the eggs
What you’ll see: The eggs are left cold for long periods or the hen stops sitting altogether.
Why it happens: Inexperience, stress, illness, mites in the nest box, or constant disturbance. Sometimes a hen simply loses interest.
What to do: Find and fix the cause if you can. If you have another pair sitting on eggs laid around the same time, you can move the abandoned eggs under the steady hen as foster parents. Otherwise, artificial incubation is an option if you’re prepared for hand-feeding afterwards.
Stage 3: Problems at Hatching
A chick stuck in its shell
What you’ll see: The egg has a small hole or crack (it has “pipped”) but the chick makes no further progress.
Why it happens: Hatching is hard work and can take several hours, so most of the time nothing is wrong. When a chick truly gets stuck, low humidity is the usual cause. The membrane dries and grips the chick.
What to do:
- Be patient. Interfering too early does far more harm than good.
- If a chick has made no progress for a long time and is clearly weakening, an experienced breeder or vet can help. Any help should be done in tiny steps, removing only small pieces of shell.
- Stop immediately if you see blood. It means the blood vessels are still active and the chick isn’t ready.
- Prevent it next time by keeping humidity steady in the breeding room, especially in the last few days before hatching.
Stage 4: Problems With Chicks in the Nest
Check the chicks once or twice a day. A quick look is all you need. Healthy chicks are warm, pink and active, and beg loudly when the box is opened. A budgie chick’s crop sits at the base of the neck and you can see it through the skin. After a feed it should look full and rounded.
Parents not feeding the chicks
What you’ll see: Chicks with flat, empty crops, especially first thing in the morning. They may be weak, cold, quiet or wrinkled-looking instead of plump and pink.
Why it happens: A pair that’s too young or inexperienced, a hen that has started thinking about her next clutch, a poor diet that leaves the parents without enough soft food to feed with, illness in the parents, or a sick chick that the parents have given up on.
What to do:
- Make sure the parents have plenty of soft food: egg food, sprouted or soaked seed and fresh greens, topped up several times a day.
- Check crops in the morning and again later in the day so you know whether feeding is happening at all.
- If you have another pair with chicks of a similar age, fostering is usually the best answer. Budgie parents will often accept extra chicks.
- If there’s no foster pair, you will need to hand-feed. Our hand-feeding guide explains formula, temperature and schedules.
- If the same pair fails to feed two clutches in a row, they may not be suited to breeding.
The youngest chick falls behind
What you’ll see: One small chick, usually the last to hatch, that stays thin and small while its older siblings grow fast.
Why it happens: In a big clutch the oldest chicks can be a week or more older than the youngest. They’re louder and stronger, so they get fed first, and they can trample or smother a tiny newcomer.
What to do: Watch the last chicks closely. Move a lagging chick to a foster nest with chicks of the same age if you can, or supplement it with hand-feeding. Some breeders limit large clutches by fostering the last few eggs to other pairs, since chicks from eggs laid after about the sixth are at most risk.
Parents plucking or attacking chicks
What you’ll see: Bald patches on the chicks’ heads, backs or wings. In worse cases there are bloody wounds, or chicks are pushed out of the nest.
Why it happens: Often the hen is ready to start her next clutch and wants the nest to herself, so she starts plucking the chicks to move them on. Stress, boredom, overcrowding and a poor diet can make it worse. Sometimes it’s the cock doing the damage.
What to do:
- A little down plucking on older chicks is fairly common and the feathers grow back. Heavy plucking or any bleeding needs action straight away.
- Watch to work out which parent is responsible. If it’s the cock and the chicks are old enough to be fed by the hen alone, removing him can solve it.
- Offering a second nest box gives a hen who wants to lay again somewhere else to go.
- Foster badly plucked chicks to another pair, or move them to a weaning cage if they’re old enough.
- An old breeders’ trick is a wire divider with half-inch spacing placed between the chicks and the entrance. The chicks can reach through to be fed but can back away from the parents.
When plucking is noticed, I personally prefer to remove the chicks and handfeed until they are ready to fledge. Handfeeding at this stage works for us because we are able to tame the budgies and avoid further problems.
Splay leg
What you’ll see: One or both legs stick out sideways from the body instead of sitting underneath it, so the chick can’t stand or grip properly.
Why it happens: A slippery or flat nest box floor gives chicks nothing to grip, so their legs slide out while the bones are still soft. Low calcium in the parents’ diet also plays a part, and occasionally a chick is born with the problem.
What to do:
- Prevent it with a concave nest box floor or a good layer of pine shavings or similar substrate, and good calcium in the parents’ diet.
- Catch it early. Splay leg is much easier to correct in young chicks whose bones are still soft.
- The usual fix is a soft hobble that holds the legs together under the body at the correct width, left on for a few days up to a few weeks depending on age and severity. Ask an avian vet or an experienced breeder to show you how before you try it.
- Not every case can be fully corrected, so prevention matters most.
Crop problems
What you’ll see: A crop that stays full and doesn’t empty between feeds, a sour smell, or regurgitation. A crop with something hard inside it.
Why it happens: Crop problems are more common in hand-fed chicks: formula that’s too cold or too thick, feeding again before the crop has emptied, or an infection. Chicks can also swallow pieces of nest substrate.
What to do: A crop that isn’t emptying needs a vet’s attention quickly, because the food sours and infection follows. If you hand-feed, use fresh formula at the right temperature every time and never top up a crop that hasn’t emptied. Never heat formula unevenly in a microwave, as hot spots can burn the crop.
Dirty feet, droppings balls and constricted toes
What you’ll see: Hard balls of dried droppings and shavings stuck to the toes or nails, or a tight ring of material around a toe with swelling past it.
Why it happens: Chicks spend weeks sitting in a nest that fills with droppings. Caked material dries hard around their toes. Fibers or nest material can also wrap tightly around a toe and cut off the blood supply, and dehydration makes this worse.
What to do:
- Clean or top up the nest box regularly, especially as the chicks get bigger and messier.
- Soften droppings balls with lukewarm water and ease them off gently. Never pull, as you can damage the nails and toes.
- A toe with a tight band of material around it and swelling past it needs prompt attention. If you can’t safely remove the material, go to an avian vet. Left untreated, the end of the toe can die.
Dirty beaks and beak problems
What you’ll see: Food caked on and around the beak, or a beak that grows crooked (the top and bottom don’t meet properly).
Why it happens: Food buildup is common in chicks being fed soft food. A crooked or “scissor” beak can be inherited or caused by the way a chick is fed.
What to do: Gently clean caked food off with a soft damp cloth or cotton bud, because buildup can distort a growing beak. If a beak is growing crooked, see an avian vet early. Gentle correction works best while the chick is still young.
French moult and other feather problems
What you’ll see: Chicks that lose or never grow their main wing and tail feathers around the time they should be fledging. These are the “runners” or “creepers” that can’t fly. Some breeders also lose very young chicks suddenly, or find dead-in-shell eggs in the same nests.
Why it happens: French moult in budgies is linked to avian polyomavirus, which hits chicks hardest in their first two weeks. Psittacine beak and feather disease (PBFD) can cause similar feather loss. Outbreaks are more likely when parents are overbred, poorly fed or carrying other infections or mites.
What to do:
- Separate affected birds from your breeding stock and talk to an avian vet. Testing can tell you which virus you’re dealing with.
- Clean and disinfect nest boxes, cages, food and water dishes thoroughly, and control dust in the bird room.
- Don’t breed from affected birds or from parents that have produced affected chicks.
- Avoid overbreeding. Limiting pairs to two rounds a season and feeding them well helps keep their immune systems strong.
Stage 5: Problems at Fledging and Weaning
Parents attacking fledglings
What you’ll see: The cock or hen chasing, biting or plucking young birds that have left the nest.
Why it happens: By the time the chicks leave the nest, the hen is often already laying her next clutch. The parents start to see the fledglings as competition for the nest box.
What to do: Once fledglings are confidently eating on their own, move them to a separate weaning cage. If the attacks start before they’re fully independent, watch closely and be ready to move them anyway and help them along with soft food.
Weaning trouble
What you’ll see: A fledgling that sits fluffed up, begs constantly, doesn’t crack seed or loses weight after leaving the nest.
Why it happens: Some youngsters are simply slower to learn. Others are being weaned too early, or have an underlying health problem.
What to do:
- Leave slow learners with their father a little longer, since he usually keeps feeding fledglings after they leave the nest.
- Make food easy to find: seed scattered in shallow dishes on the cage floor, spray millet, soft egg food and greens.
- Weigh weaning birds on a kitchen scale that reads in grams. Steady weight loss is a warning sign.
- A young bird that keeps losing weight or looks unwell needs a vet. Our guide to the signs of a sick budgie explains what to watch for.
Overbreeding and worn-out parents
What you’ll see: Parents that look tired, lose condition or feathers, or a hen who goes straight from one clutch into the next. Later rounds often bring more clear eggs, weaker chicks and more problems overall.
Why it happens: Raising chicks takes a huge amount of energy and calcium. Without a rest, both birds run down, and so does the quality of their chicks.
What to do: Limit pairs to two rounds a season, remove the nest box afterwards, and give the birds several months to recover with a good diet before breeding again.
When to Call an Avian Vet Right Away
Don’t wait and see if you notice any of these:
- A hen fluffed up on the cage floor, straining or struggling to perch (possible egg binding)
- Any bird with labored breathing or strong tail bobbing at rest
- A chick or parent with a bleeding wound
- A chick whose crop isn’t emptying or that smells sour
- A toe that’s swollen past a tight band of material
- Several chicks dying suddenly, or chicks with abnormal feathers
- A fledgling that’s losing weight and not eating
Save your vet’s number before breeding season starts. The Association of Avian Veterinarians has a Find a Vet directory, and our bird emergency page lists warning signs and hotline numbers.
Quick Prevention Checklist
- Breed only healthy birds that are at least a year old
- Feed egg food, greens and a calcium source well before and throughout breeding
- Use a secure, draft-free nest box with a concave floor or good substrate
- Keep the breeding room calm with steady temperature and humidity
- Check eggs and chicks daily, quickly and quietly
- Have a foster pair or hand-feeding supplies ready
- Limit each pair to two rounds a season
- Know your nearest avian vet
Final Thoughts
Every breeder runs into some of these problems sooner or later. It doesn’t mean you’ve failed. The difference between a good season and a sad one is usually how quickly you notice something is off and how prepared you are to act. Know your pair’s normal, check the nest every day, keep a few backup plans ready, and don’t hesitate to call an avian vet when a bird’s life is on the line.
Sources
- Merck Veterinary Manual: Reproductive Disorders of Pet Birds
- VCA Animal Hospitals: Egg Binding in Birds
- Lafeber Vet: Egg Laying Problems in Pet Birds (client handout)
- The Parrot Society UK: Diseases of Breeding and Raising Chicks
- Budgerigar Council of South Australia: Splayed Legs in Budgerigars
- Budgerigar Council of South Australia: Dead in Shell
- Bird Health (Dr Rob Marshall): French Moult
- AFA Watchbird: Snags in Breeding Budgerigars (Eric Peake)
- Omlet: Budgie Lifecycle